Rendering lamb fat is a time-honored process that transforms trimmings into a versatile cooking ingredient. Whether you’re looking to enhance the flavor of your dishes or simply reduce waste, understanding how to render lamb fat cleanly is essential. Let’s explore the step-by-step process that will help you achieve a high-quality result.
1. Selection of the Right Cut
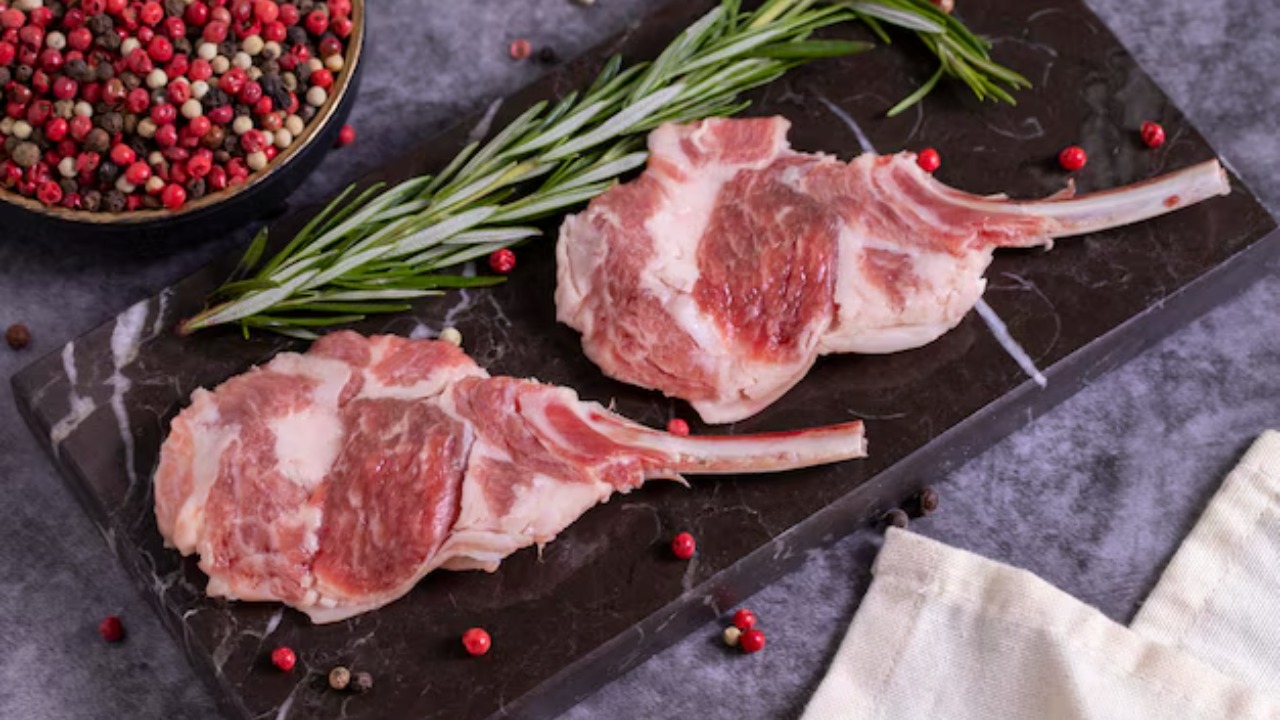
Choosing the right cut is the first step in successfully rendering lamb fat. I recommend opting for cuts such as lamb shoulder or lamb leg, which tend to have a higher fat content. These cuts are not only more economical but also yield a superior quantity of fat. It’s crucial to start with fresh, high-quality meat to ensure the best flavor and consistency in the rendered fat.
For those new to the process, visiting a local butcher can be beneficial. They can provide specific cuts that are optimal for rendering, ensuring you get the most out of your efforts. Additionally, you can explore resources like this book for more insights on selecting the right lamb cuts.
2. Trimming Excess Meat
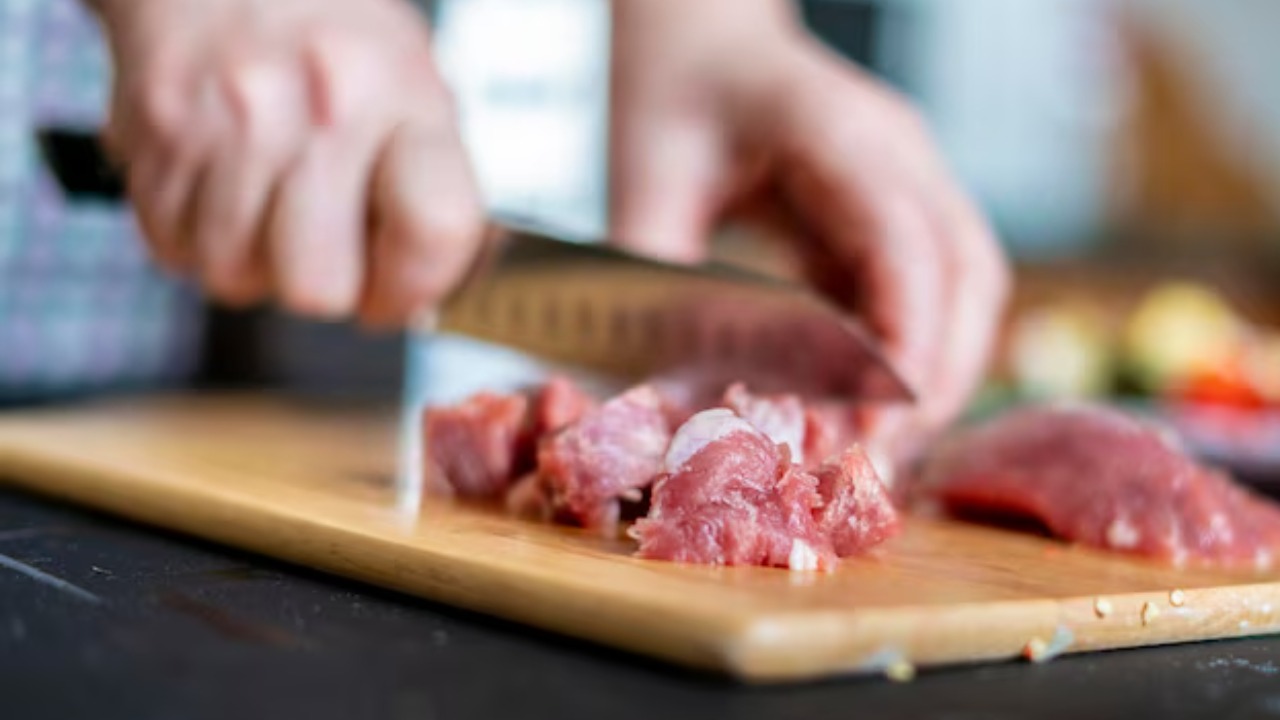
Once you’ve selected your lamb cut, the next step is to trim away any excess meat. This is important because meat can impart a cloudy appearance and unwanted flavors to the rendered fat. I use a sharp knife to carefully separate the fat from the meat, ensuring that only pure fat is left for rendering.
It’s helpful to work on a clean cutting board and keep a steady hand. Removing any connective tissue is also vital, as it can prevent the fat from melting evenly. For a detailed guide on trimming techniques, check out this resource from The Homesteading RD.
3. Chopping the Fat into Uniform Pieces
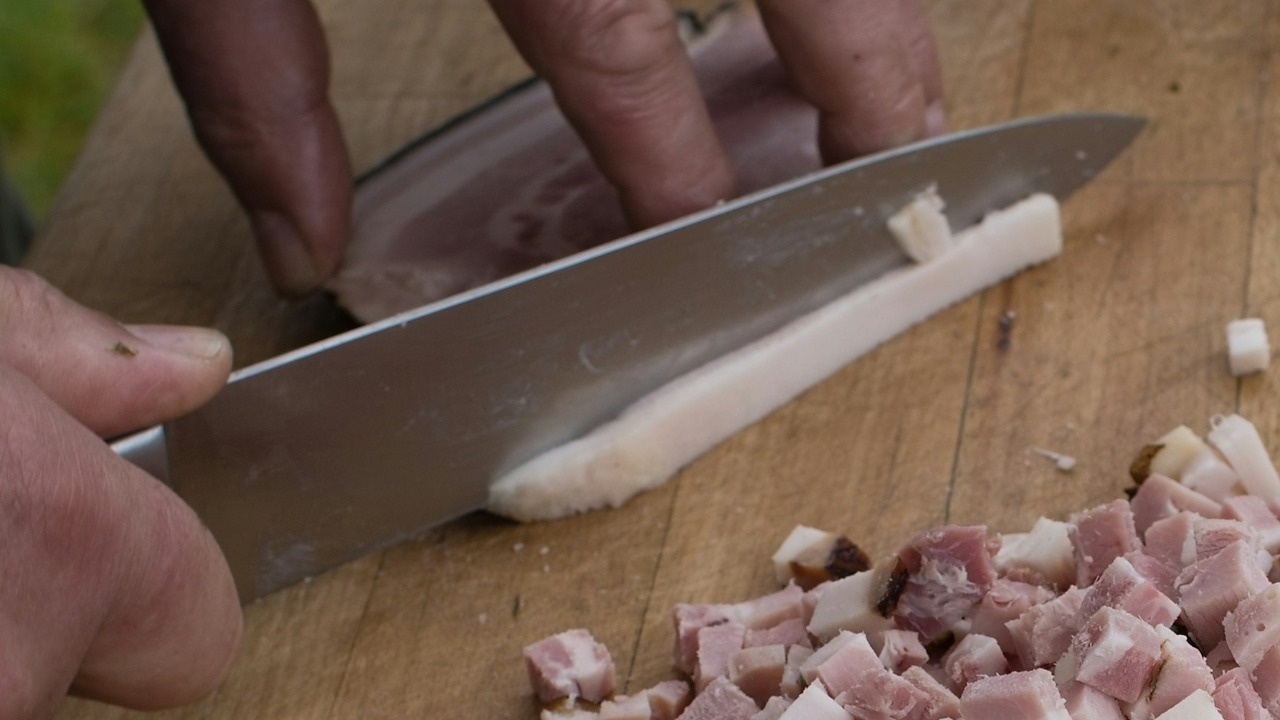
After trimming, I chop the fat into small, uniform pieces. This step is essential because it ensures that the fat melts evenly during the cooking process. I aim for pieces that are roughly 1/2-inch cubes, as they provide a good balance between melting time and efficiency.
Uniformity in chopping is the key to a smooth rendering process. Uneven pieces can result in some fat overcooking while others remain solid. For beginners, using a food processor can speed up this step and ensure consistency.
4. Prepping the Cooking Equipment
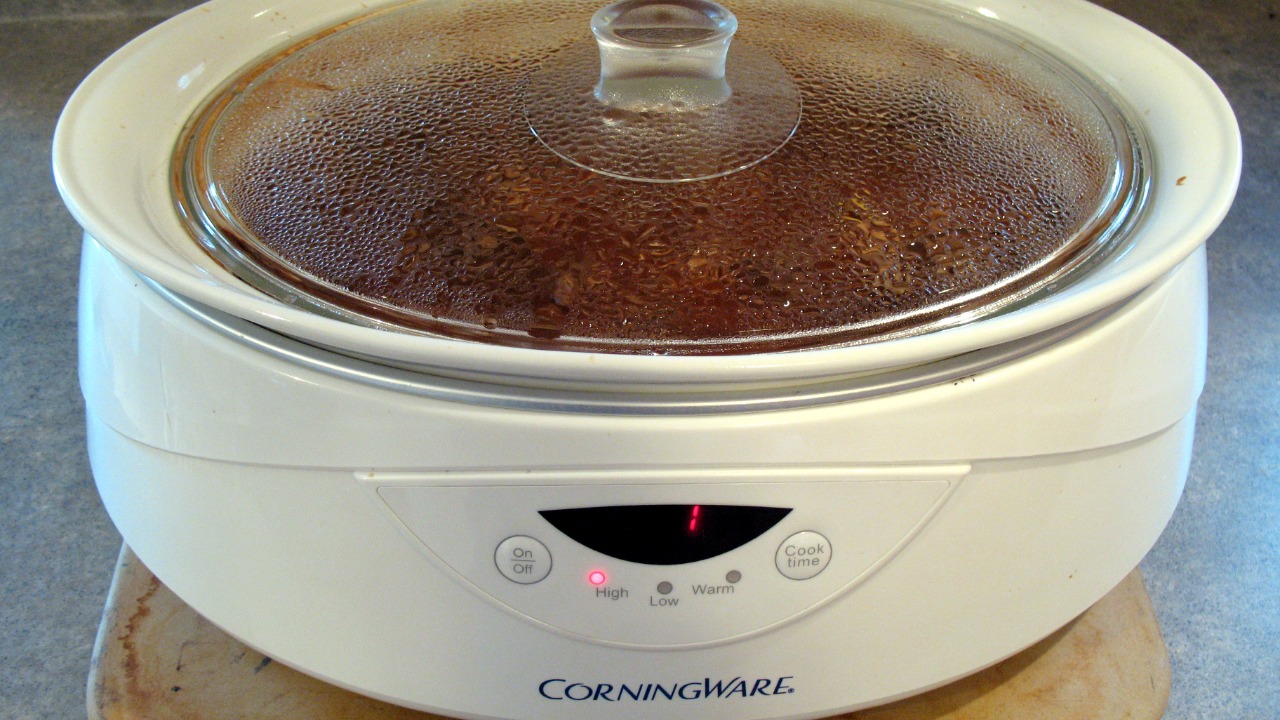
Before starting the rendering process, it’s important to prepare the right cooking equipment. I prefer using a heavy-bottomed pot or a slow cooker, which provides even heat distribution. A slow cooker is particularly useful if you want to render the fat unattended over several hours.
Additionally, having a fine-mesh strainer and cheesecloth on hand will make the straining process easier. These tools help in removing any impurities from the melted fat, ensuring a clean final product. For more insights on equipment, Shepherd Song Farm offers a comprehensive guide.
5. Low and Slow Melting Process
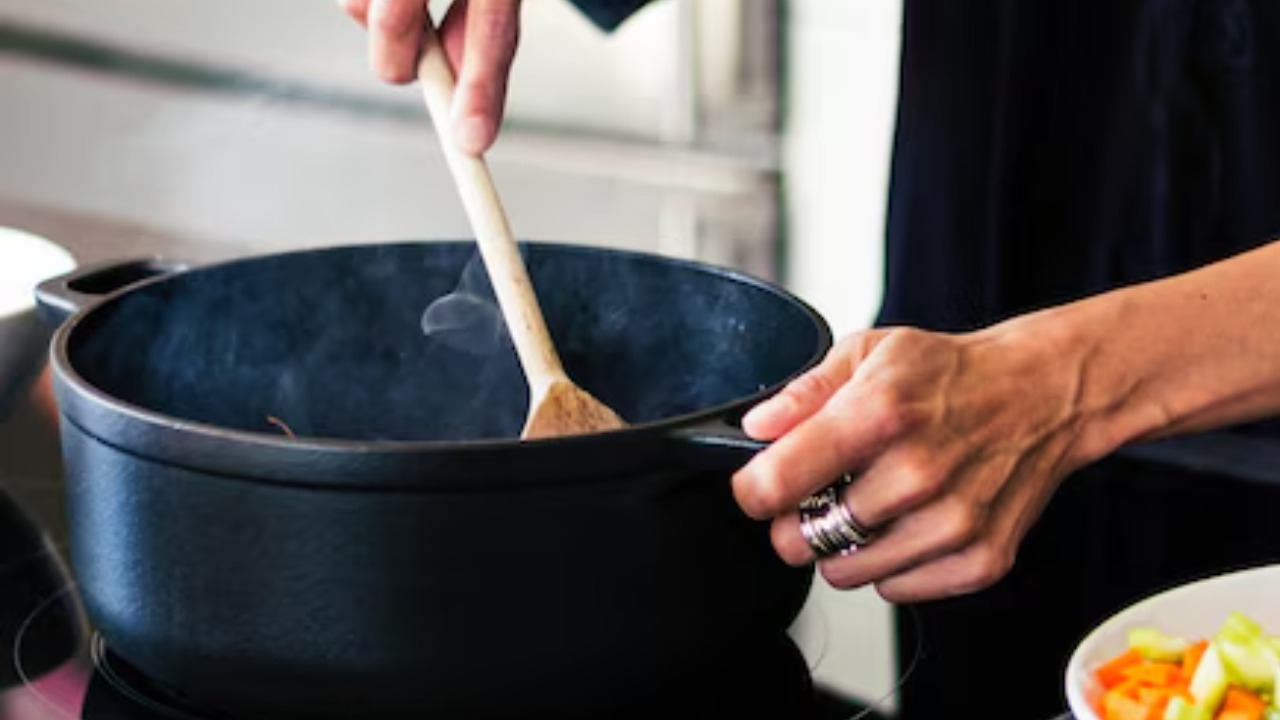
Rendering lamb fat is best done with a low and slow cooking method. I set my slow cooker on the lowest setting or keep the stovetop temperature just below medium. This gradual heating allows the fat to melt without browning or burning, which maintains a neutral flavor.
As the fat begins to melt, I occasionally stir to promote even melting. Depending on the quantity and size of the pieces, this process can take several hours. The key is patience; rushing the melting can compromise the quality of the rendered fat.
6. Straining the Melted Fat
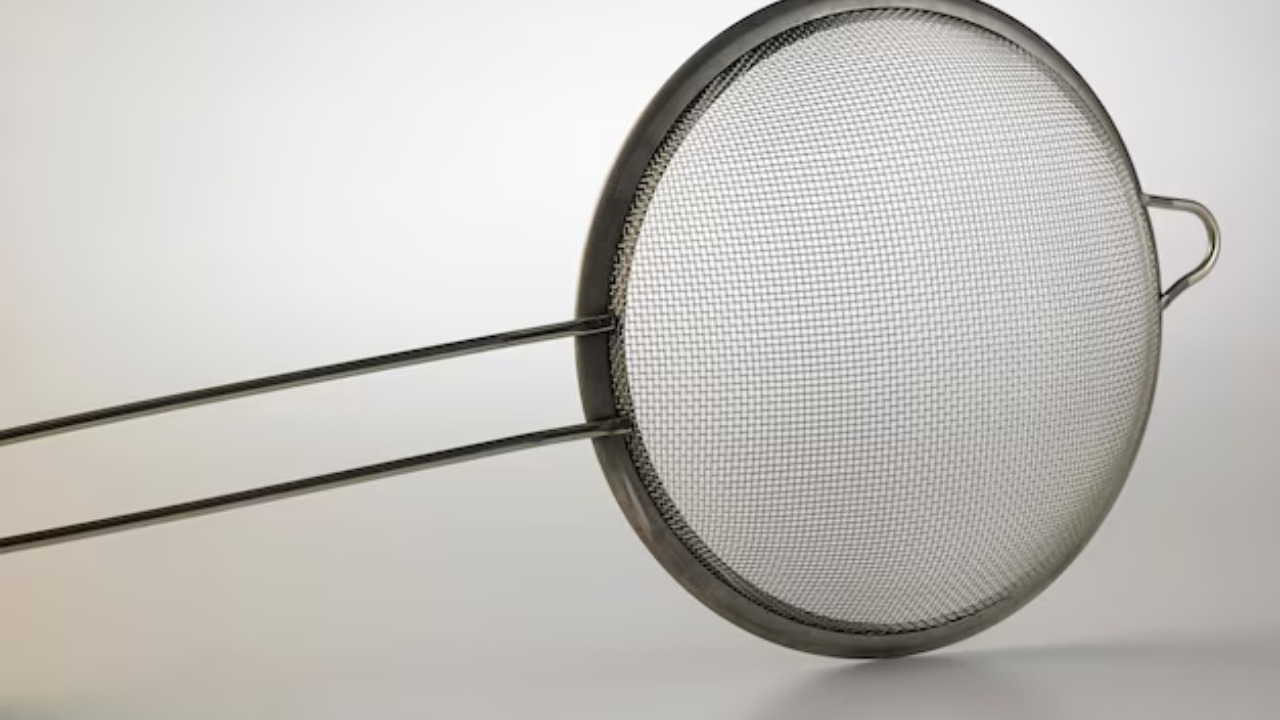
Once all the fat has melted, I carefully pour it through a fine-mesh strainer lined with cheesecloth. This step is crucial to remove any remaining solid bits, ensuring a pure and clean product. I recommend straining the fat while it’s still warm, as it will flow more easily through the strainer.
For those looking for additional tips on straining and achieving a clear tallow, the Heart of the Homestead Family provides a helpful article on rendering fat at home.
7. Cooling and Storing the Rendered Fat
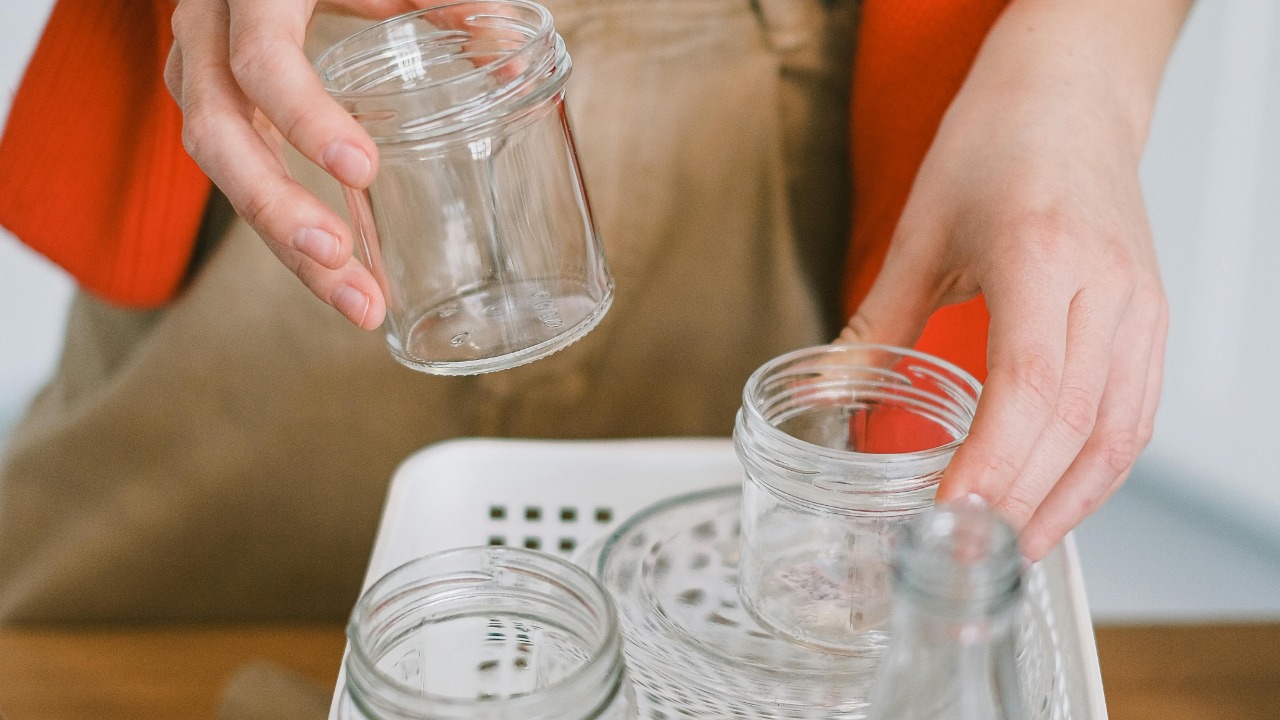
After straining, I allow the rendered fat to cool slightly before transferring it into clean jars or containers. It’s important to let the fat cool completely at room temperature before sealing the containers to prevent condensation, which can cause spoilage.
Once cooled, I store the rendered fat in the refrigerator for up to several months. For longer storage, freezing is an option. Properly stored, rendered lamb fat can be a versatile ingredient in your kitchen, adding flavor to a variety of dishes.
8. Cleaning Up After Rendering
Cleaning up after rendering is a straightforward process but should be done with care to avoid clogged drains. I wipe down any utensils and the cooking pot with a paper towel to remove excess grease before washing them with hot, soapy water.
For those looking for eco-friendly ways to dispose of any leftover solid bits or used cheesecloth, composting can be a viable option. For more tips on rendering and cleanup, consider exploring this book on rendering techniques.

As a mom of three busy boys, I know how chaotic life can get — but I’ve learned that it’s possible to create a beautiful, cozy home even with kids running around. That’s why I started Cultivated Comfort — to share practical tips, simple systems, and a little encouragement for parents like me who want to make their home feel warm, inviting, and effortlessly stylish. Whether it’s managing toy chaos, streamlining everyday routines, or finding little moments of calm, I’m here to help you simplify your space and create a sense of comfort.
But home is just part of the story. I’m also passionate about seeing the world and creating beautiful meals to share with the people I love. Through Cultivated Comfort, I share my journey of balancing motherhood with building a home that feels rich and peaceful — and finding joy in exploring new places and flavors along the way.