

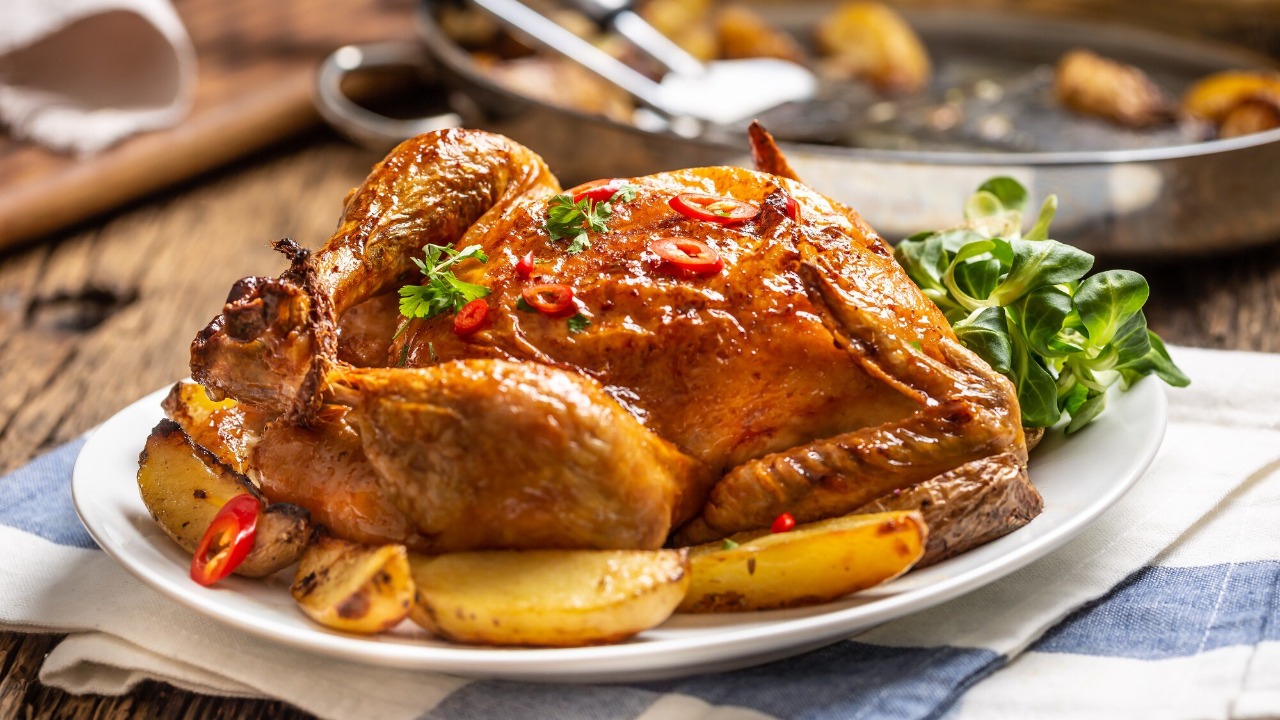
Achieving perfectly crispy chicken skin can elevate a simple roast chicken to a gourmet delight. Whether you’re hosting a dinner party or preparing a family meal, mastering these techniques will ensure your chicken is as savory as it is succulent. From selecting the right bird to the final moments of carving, these tips will guide you through the steps to roasted perfection.
Choose the Right Chicken
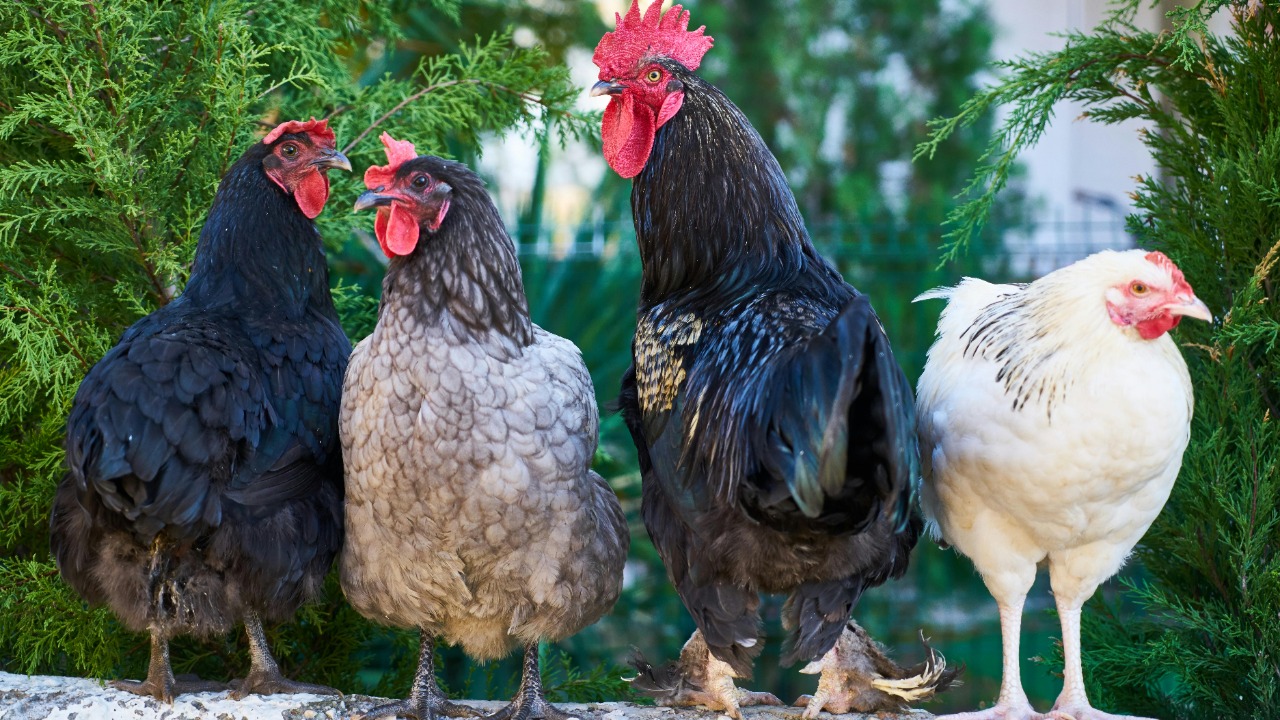
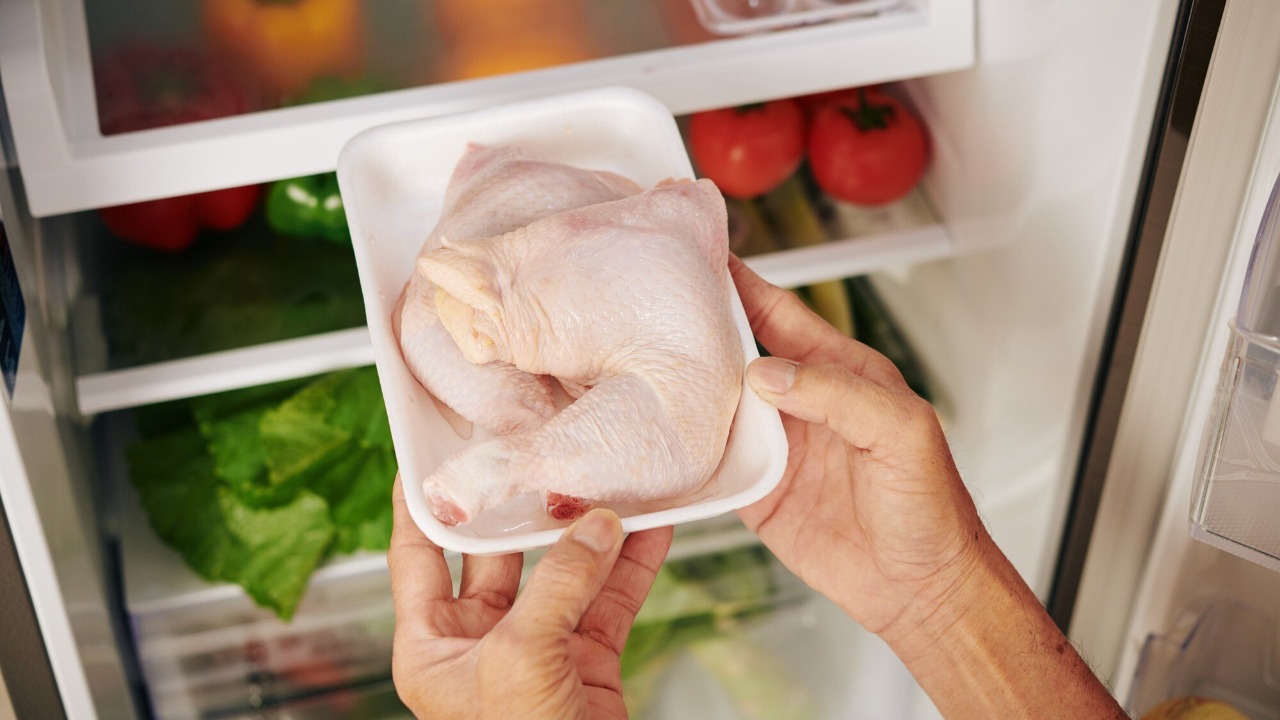
The foundation of a great roast chicken starts with the bird itself. Opt for a quality chicken, preferably organic or free-range, as these tend to have more flavorful meat and better texture. A chicken weighing around 4 to 5 pounds is ideal for roasting, providing a balance between cooking time and flavor.
When selecting your chicken, look for a fresh bird with a healthy pink color and avoid any with an off smell or excessively wet packaging. These signs can indicate a lack of freshness, which can impact both taste and safety. Brands like Bell & Evans or Mary’s Free Range can offer consistent quality for your dish.
Dry the Skin Thoroughly
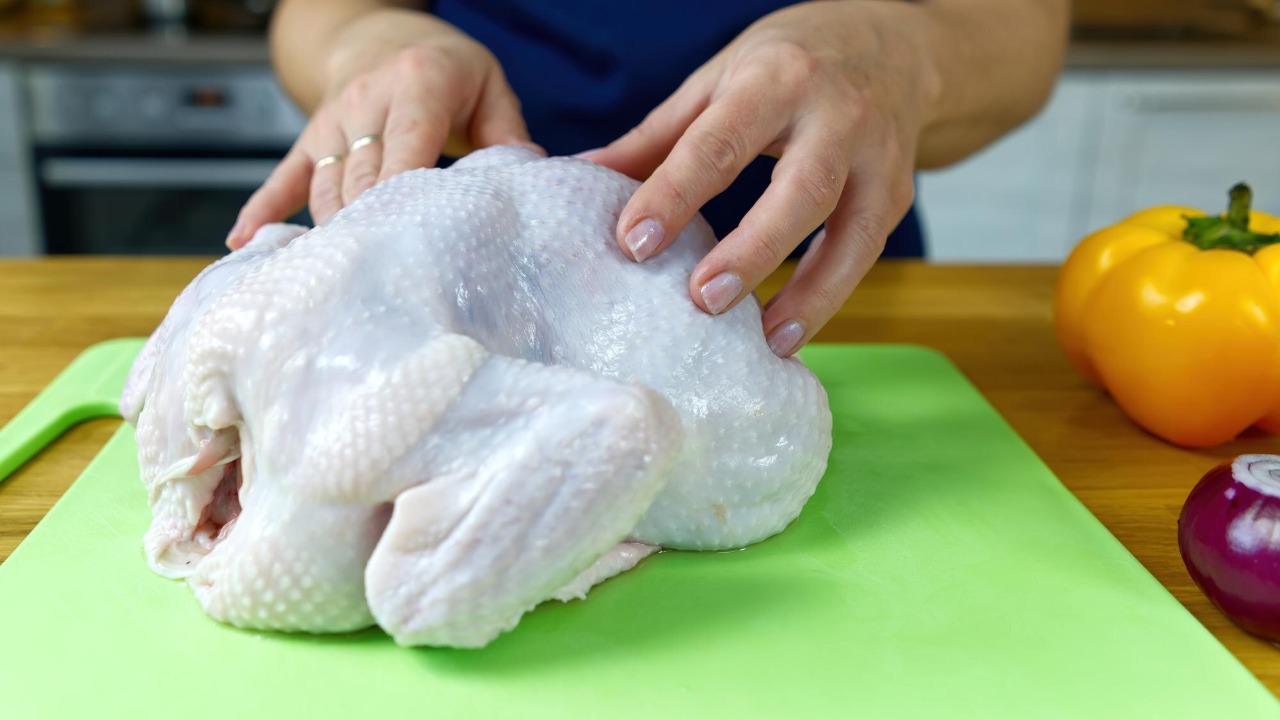
Moisture is the enemy of crispy skin. Before seasoning, pat the chicken dry with paper towels. Removing excess moisture ensures that the skin crisps up beautifully in the oven. Pay special attention to hard-to-reach areas like under the wings and around the thighs.
For an extra step, consider leaving the chicken uncovered in the refrigerator for a few hours to further dry out the skin. This is especially beneficial if the chicken was previously frozen. By allowing the skin to dry out completely, you set the stage for a perfectly crispy finish.
Season Generously
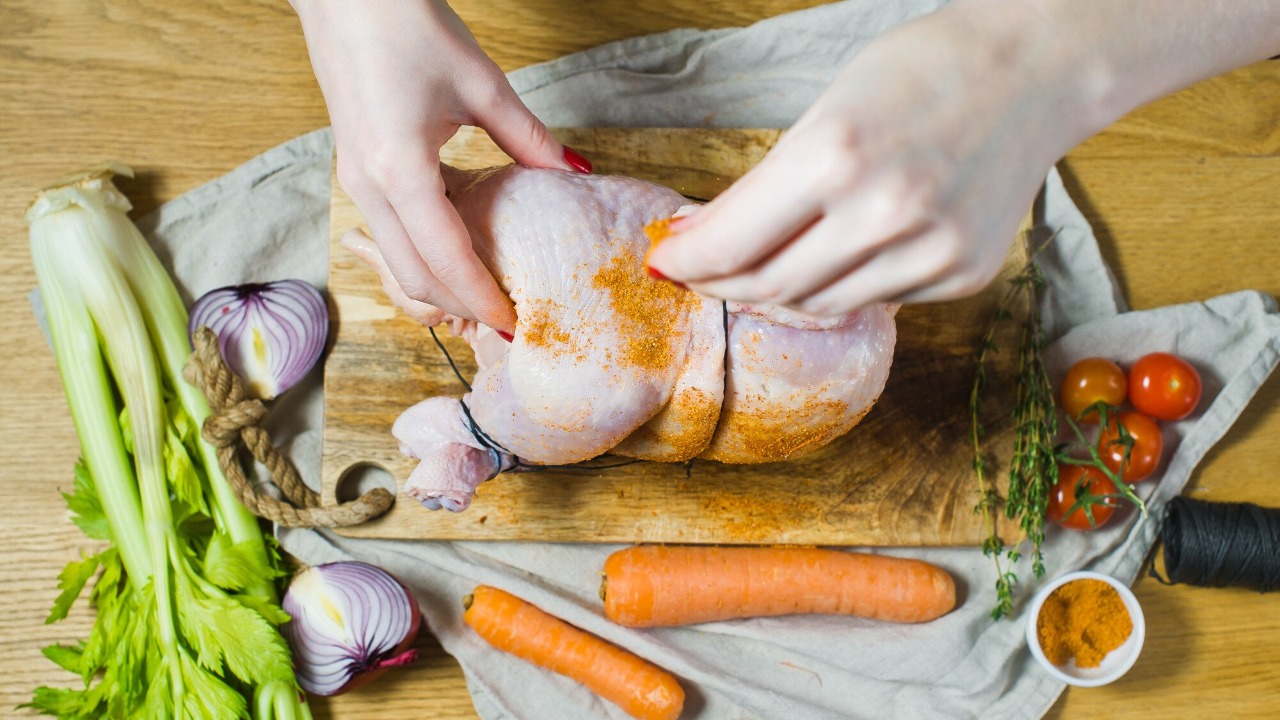
A well-seasoned bird is a delicious bird. Use a generous amount of salt and pepper, ensuring even coverage over the entire chicken. Rubbing the seasoning into the skin can help it adhere better and enhance the flavor.
Consider adding other spices and herbs like garlic powder, paprika, or thyme. Fresh herbs like rosemary or sage can be tucked under the skin for added aroma. The right combination of spices can transform your roast chicken from ordinary to extraordinary.
Use Baking Powder
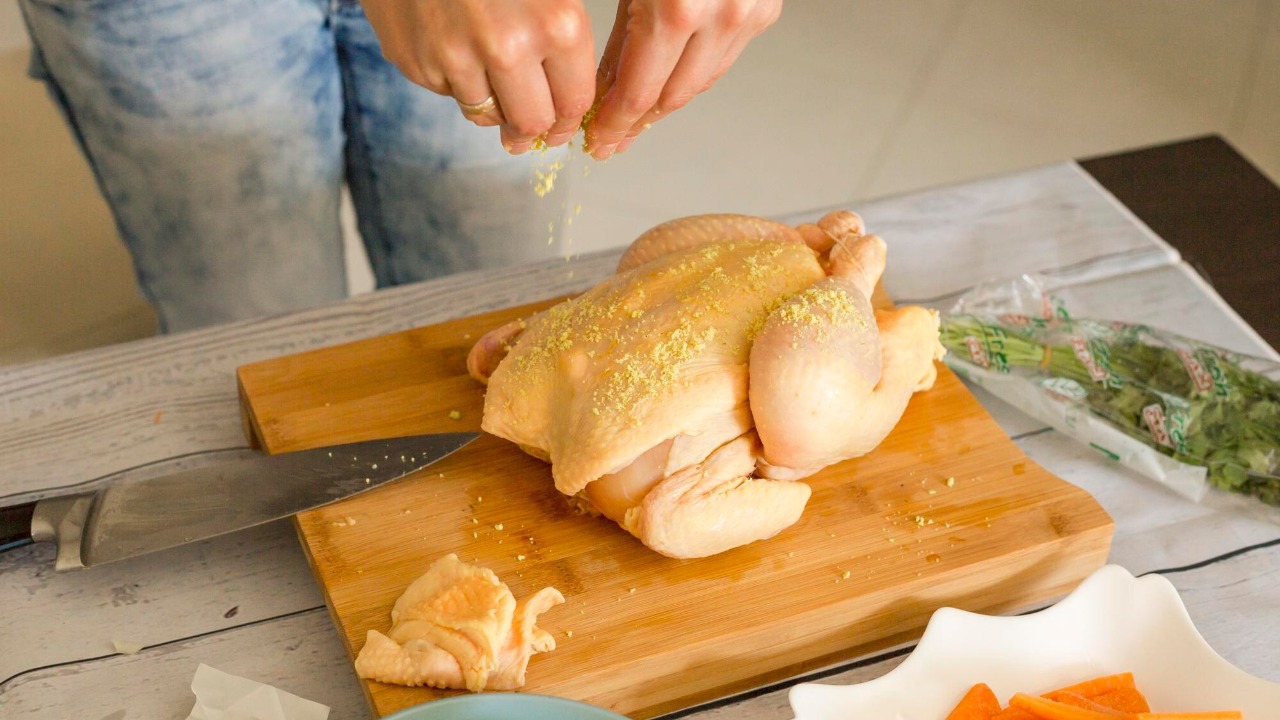
One unconventional trick to achieving crispy skin is using baking powder. Mixing a tablespoon of baking powder with your seasoning can help the skin crisp more effectively. This is because baking powder raises the skin’s pH level, encouraging browning and crispiness.
Apply the baking powder mixture evenly over the skin before roasting. Be cautious not to overdo it, as too much can leave a bitter taste. This method is a favorite among experienced cooks and chefs aiming for that perfect golden-brown finish.
Let it Air-Dry in the Fridge
Once seasoned, let your chicken air-dry in the fridge for at least an hour, preferably overnight. This step allows the skin to dry thoroughly, enhancing the crispiness when roasted. Place the chicken on a wire rack set inside a baking sheet to ensure air circulates around the entire bird.
This technique is similar to dry-aging meat and can significantly improve texture and flavor. By allowing the skin to dry out further, you’re setting yourself up for a roast that will be the centerpiece of any meal.
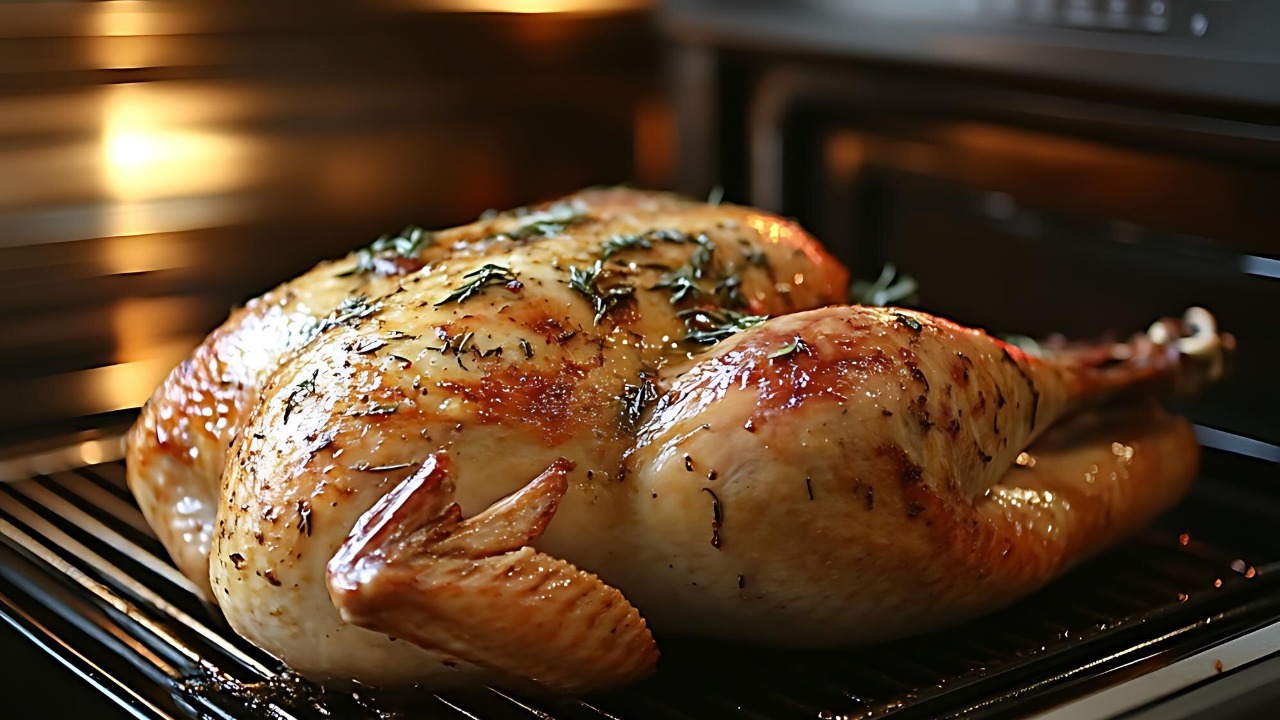
Preheat Your Oven
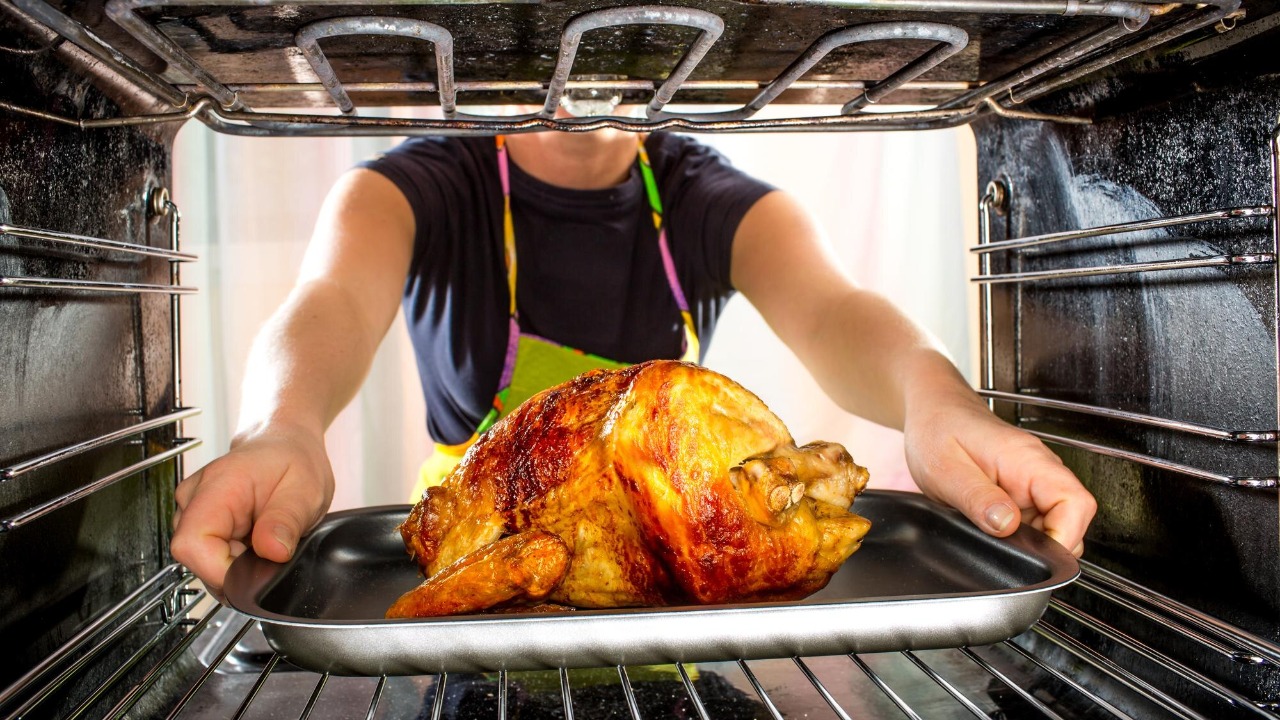
Preheating the oven is crucial for consistent cooking. Set your oven to the desired temperature at least 20 minutes before placing the chicken inside. A hot oven jump-starts the cooking process, helping the skin render fat quickly for crispiness.
For most roast chickens, a temperature of 425°F (220°C) works well. This high heat helps achieve a balance between cooking the meat through and crisping the skin. Ensure your oven thermometer is calibrated correctly for the best results.
Elevate the Chicken
Elevating the chicken during roasting allows heat to circulate evenly around the bird, promoting even cooking and crispy skin. Use a wire rack in your roasting pan or crumple some aluminum foil into a makeshift rack if necessary.
By preventing the chicken from sitting in its juices, you avoid sogginess on the bottom side of the bird. This simple step can make a significant difference in achieving that much-desired crispy texture all over.
Use a High Temperature
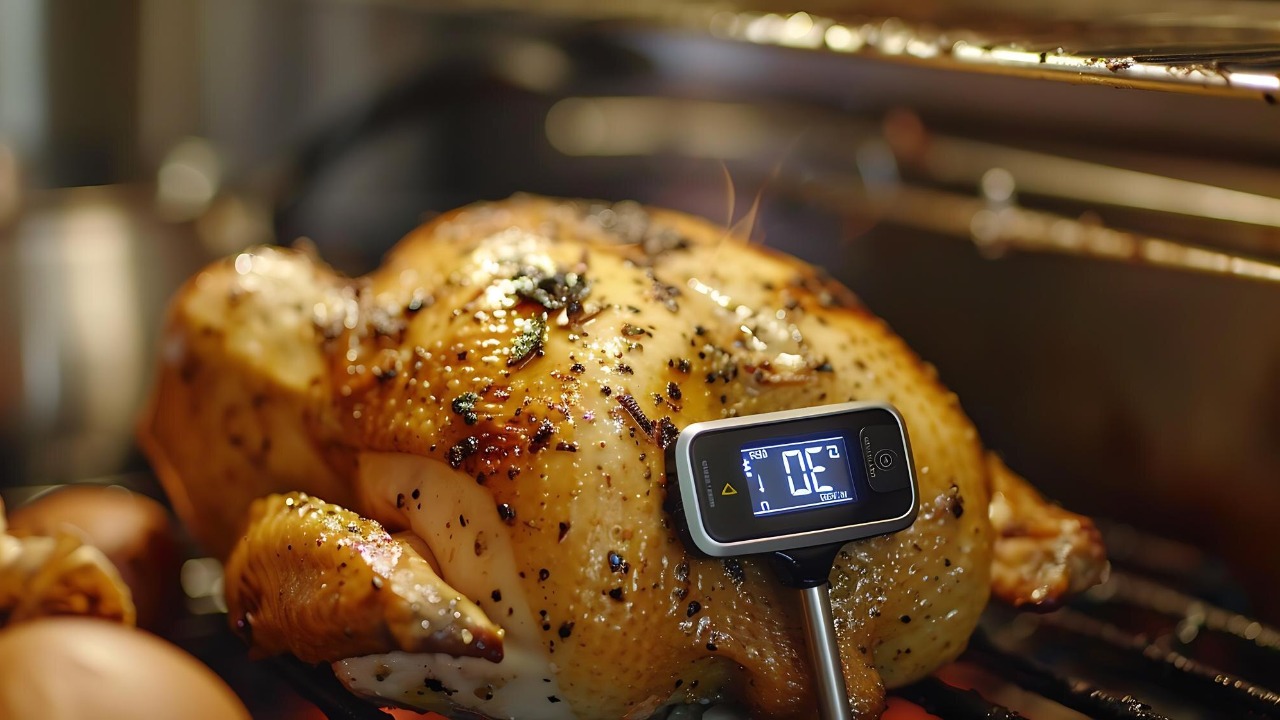
A high roasting temperature is key to crispy skin. While lower temperatures can result in tender meat, they often lack the heat needed to crisp the skin. Start your roast at 425°F (220°C) for the first 20 minutes to render fat and begin the browning process.
After this initial high heat, you can lower the temperature to 375°F (190°C) to finish cooking the meat through without burning the skin. This method offers the best of both worlds: moist meat and a crackling finish.
Start Breast-Side Down
Starting your roast with the chicken breast-side down allows juices to flow into the breast meat, keeping it moist. This position also lets the back skin render some fat before you flip it over for the final crisping.
After about 30 minutes of cooking, flip the bird breast-side up to finish. This simple technique ensures the breast remains juicy while the skin crisps to perfection. It’s a small adjustment with a big impact on the final result.
Baste Sparingly

Basting can enhance flavor but too much can lead to soggy skin. If you choose to baste your chicken, do so sparingly, especially in the final stages of cooking. This helps maintain the skin’s crispness while adding a layer of flavor.
Use a flavorful basting liquid like melted butter mixed with herbs or a simple pan drippings mixture. A quick brush is often enough to impart additional taste without compromising the texture of the skin.
Finish with a Broil
For an extra crispy finish, consider broiling the chicken for the last few minutes of cooking. Keep a close eye on it, as broiling can quickly turn from perfect to burnt. This final step can give you restaurant-quality crispy skin right at home.
Position the chicken so it’s about 6 inches from the broiler and broil for 3-5 minutes, until the skin is golden brown. Remember to watch closely to prevent burning, and you’ll be rewarded with an irresistibly crispy skin.
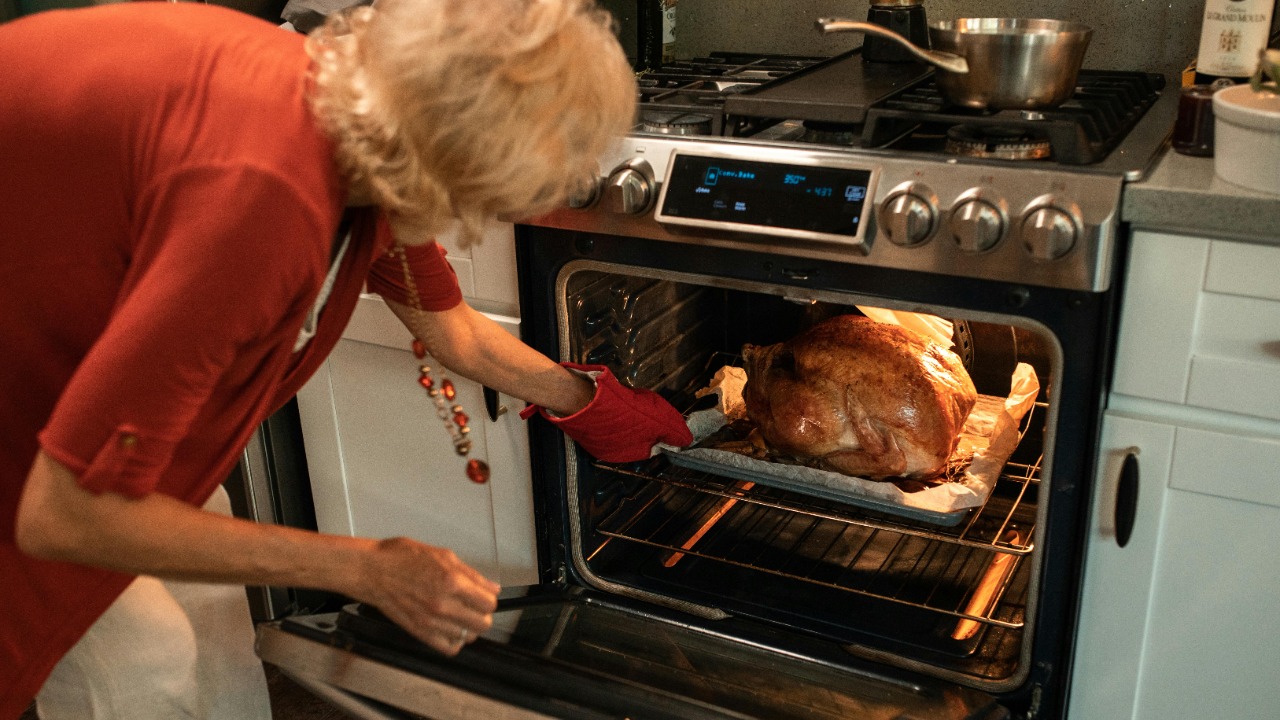
Rest Before Carving
Resting the chicken after roasting is as crucial as any other step. Allowing the bird to rest for at least 15-20 minutes ensures the juices redistribute throughout the meat, resulting in tender, juicy bites with every forkful.
Cover the chicken loosely with aluminum foil to keep it warm during this resting period. This pause not only enhances flavor but also makes carving easier and cleaner. It’s the perfect time to prepare any sides or sauces for serving.
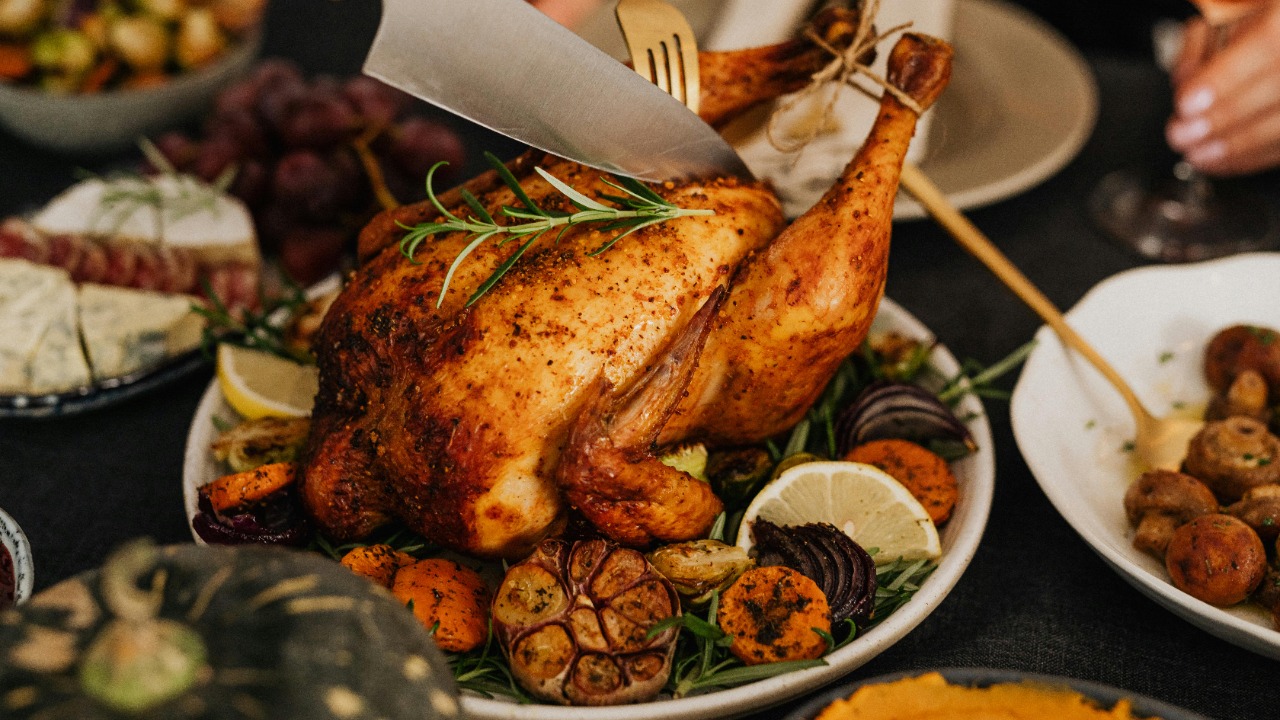
Carve with Precision
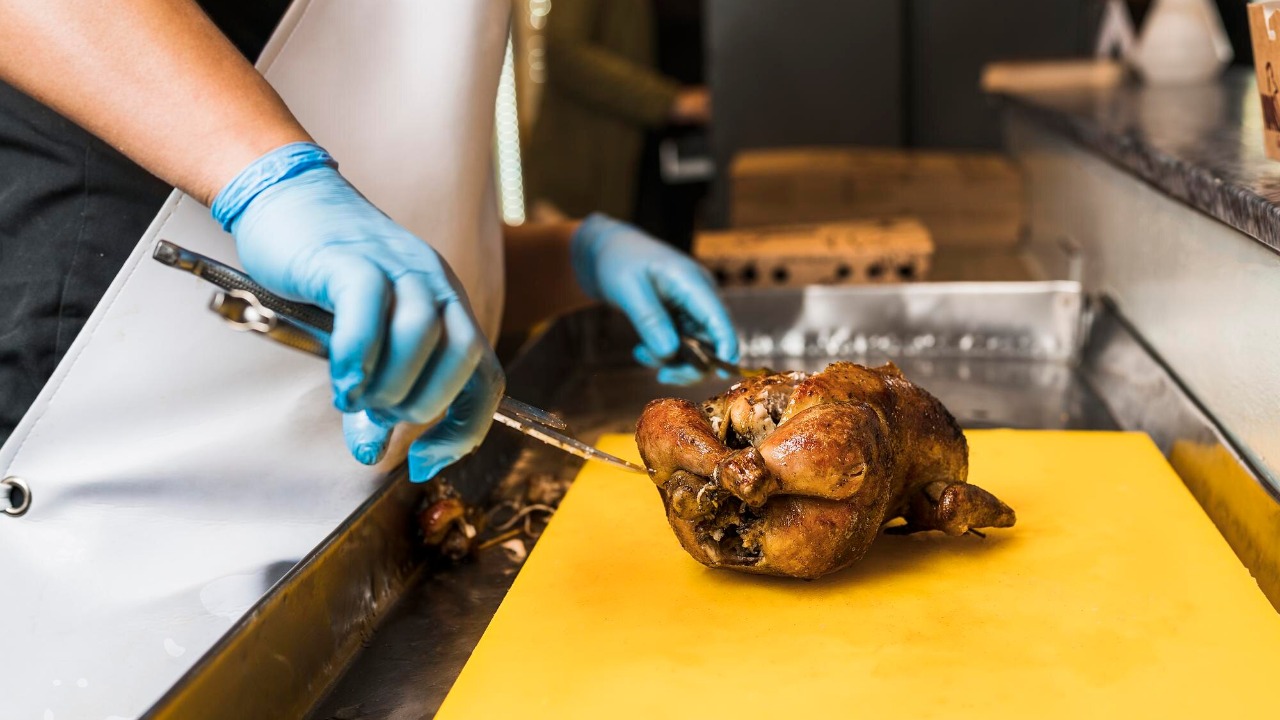
Proper carving elevates the presentation and enjoyment of your roast chicken. Start by removing the legs, cutting through the joints for clean pieces. Then, slice the breast meat against the grain for tender, bite-sized portions.
Use a sharp carving knife and take your time to ensure each piece is neatly cut. A well-carved chicken not only looks more appetizing but also makes serving easier and more enjoyable for your guests. Practice makes perfect, and soon you’ll carve with the precision of a seasoned chef.

As a mom of three busy boys, I know how chaotic life can get — but I’ve learned that it’s possible to create a beautiful, cozy home even with kids running around. That’s why I started Cultivated Comfort — to share practical tips, simple systems, and a little encouragement for parents like me who want to make their home feel warm, inviting, and effortlessly stylish. Whether it’s managing toy chaos, streamlining everyday routines, or finding little moments of calm, I’m here to help you simplify your space and create a sense of comfort.
But home is just part of the story. I’m also passionate about seeing the world and creating beautiful meals to share with the people I love. Through Cultivated Comfort, I share my journey of balancing motherhood with building a home that feels rich and peaceful — and finding joy in exploring new places and flavors along the way.