Smoking ribs takes more than tossing them on the grill and waiting. It is a slow process that rewards patience and attention, and the payoff is tender meat with that deep, smoky flavor everyone craves. The tricky part is that there is no single answer to how long it should take. The type of ribs, the smoker, the wood, and even how you like them finished all make a difference. Understanding these factors is the key to ribs that come out juicy and full of flavor every time.
Understanding the Types of Ribs
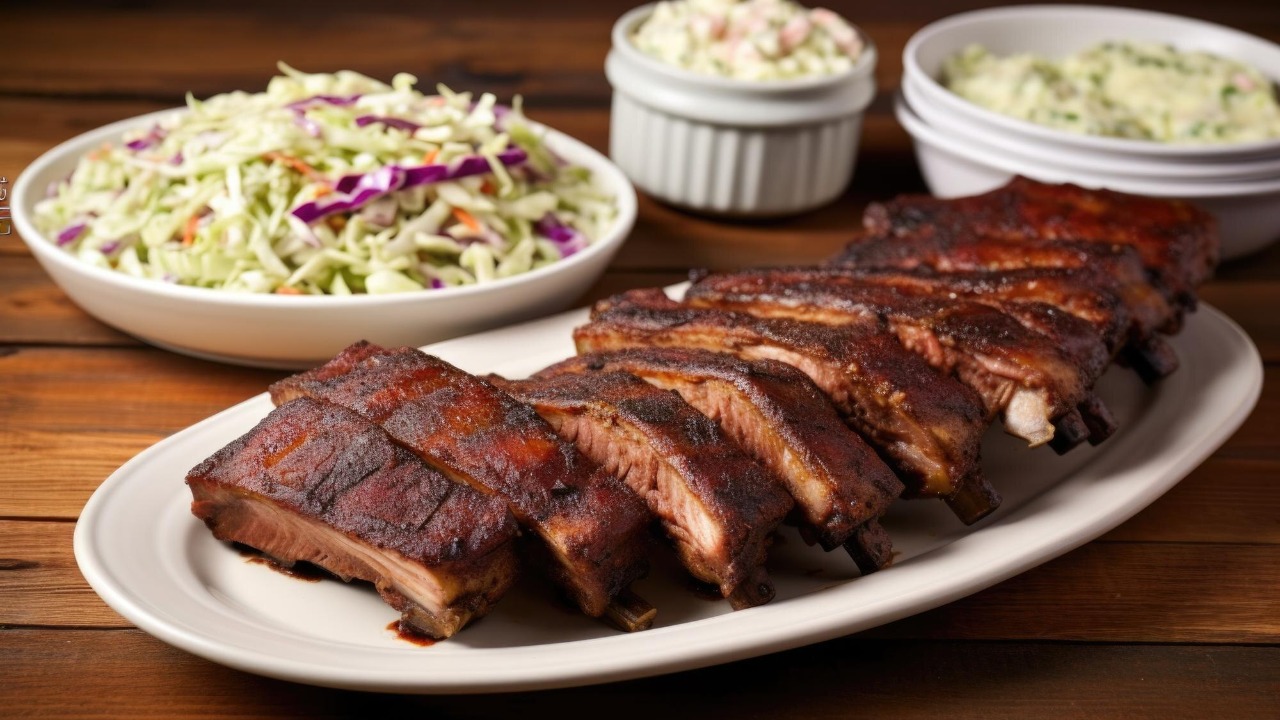
There are three main types of ribs to consider when smoking: Baby Back ribs, Spare ribs, and St. Louis Style ribs. Baby Back ribs, also known as loin ribs, come from the top of the rib cage and tend to be meatier and leaner. Spare ribs are cut from the belly and are larger but contain more bone and fat. Lastly, St. Louis Style ribs are essentially Spare ribs but trimmed down for a uniform rectangular shape, making them easier to handle and cook evenly.
The type of rib you choose inevitably impacts the smoking duration. Baby Back ribs, due to their smaller size and less fat, typically take less time than Spare and St. Louis Style ribs. On average, you can expect Baby Back ribs to smoke for about 4 to 5 hours, whereas Spare and St. Louis Style may require 5 to 6 hours.
The Importance of Meat Preparation
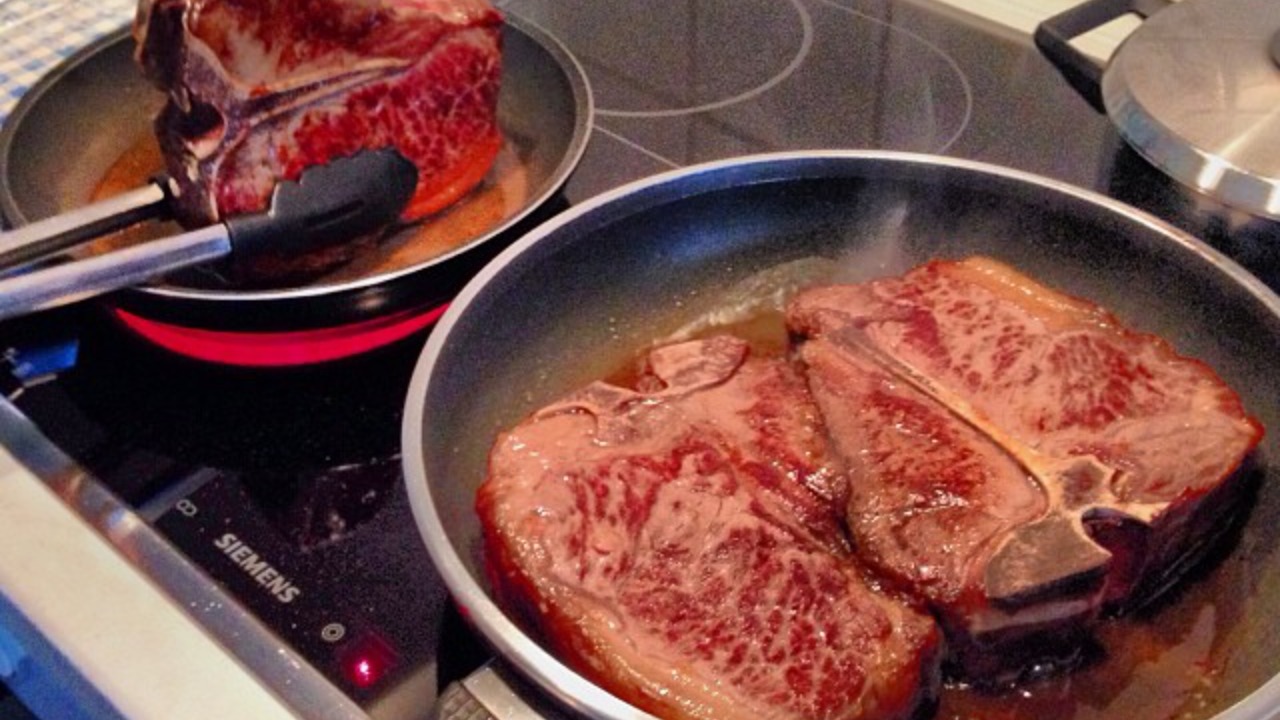
Before you even place your ribs in the smoker, proper preparation is crucial. One important step often overlooked is removing the membrane on the back of the ribs. This membrane is tough and can prevent smoke and seasoning from penetrating the meat, leading to less flavor. Tools such as a butter knife and paper towels can aid in this process.
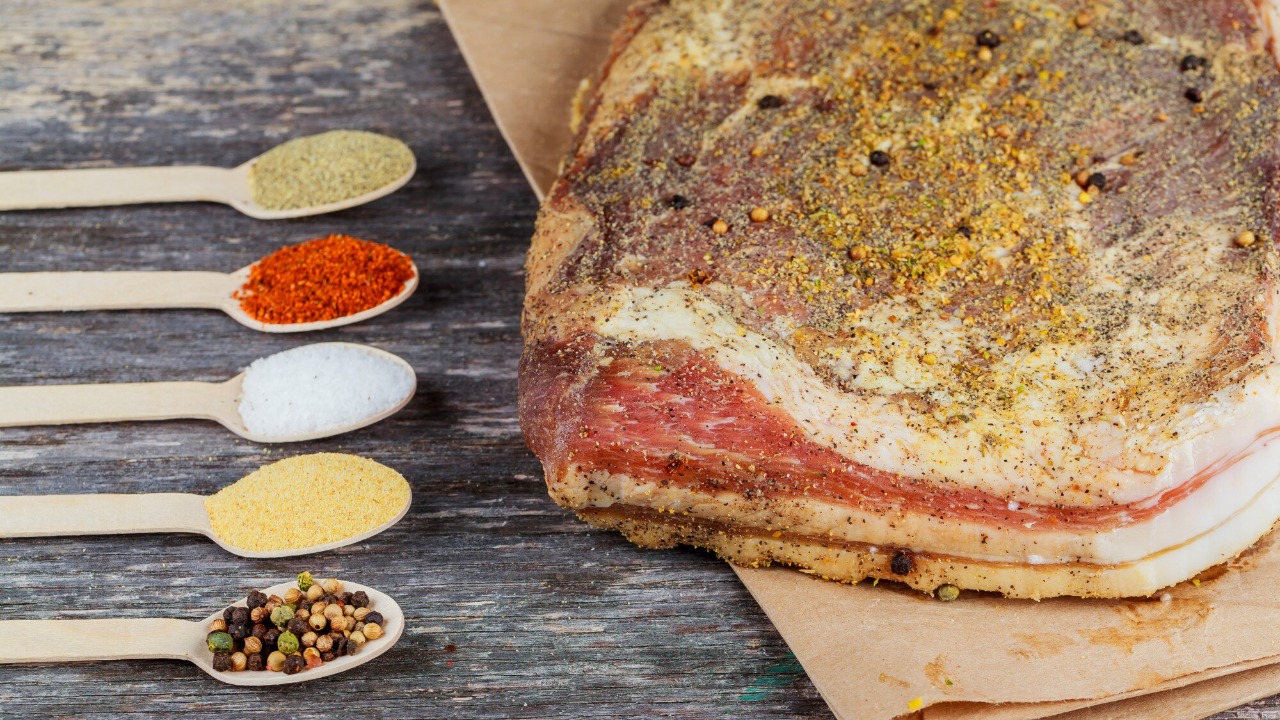
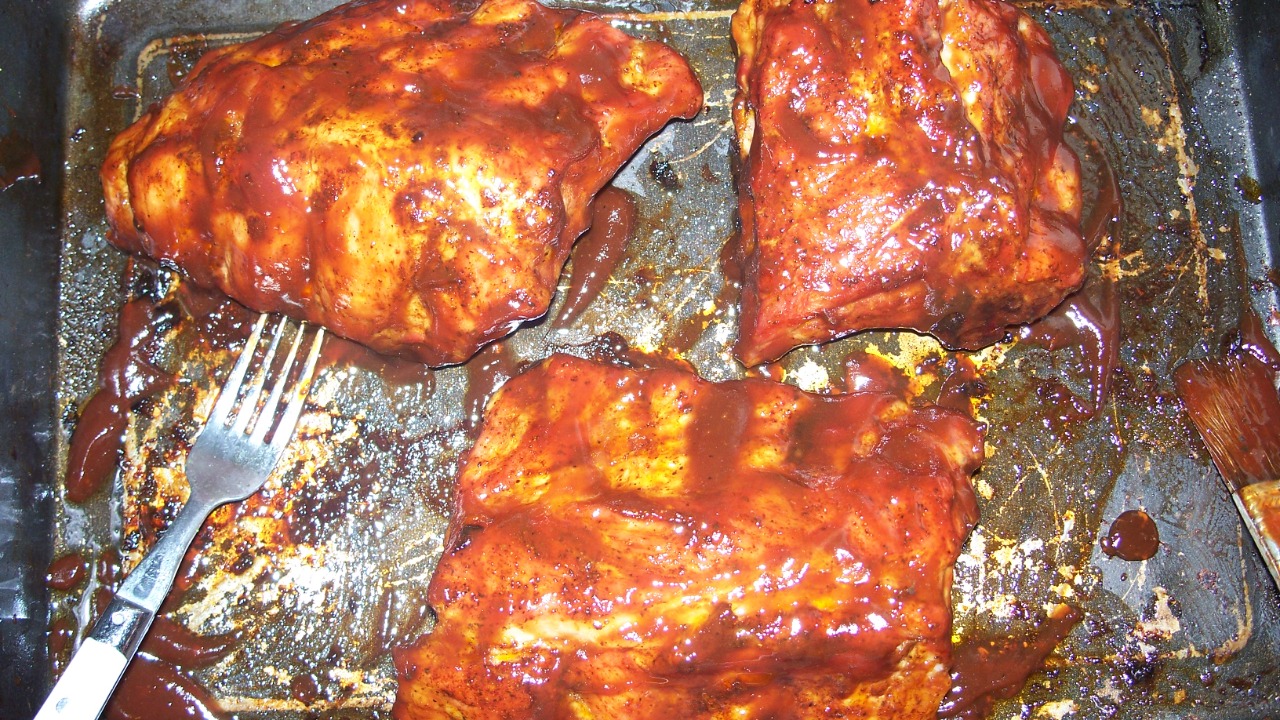
Marinating and dry rubbing are also essential for enhancing flavor. A good marinade, consisting of elements like vinegar, sugar, and spices, can tenderize the meat and infuse it with flavor. Dry rubs, consisting of various seasonings and spices, are then applied to create a crust on the ribs that seals in moisture and adds an additional layer of flavor. These steps should ideally be done a day in advance to allow the flavors to fully penetrate the meat.
Choosing the Right Smoker
There are several types of smokers to choose from, including offset smokers, vertical water smokers, box smokers, and pellet smokers. Each has its own set of benefits and drawbacks. For example, offset smokers are great for large batches of ribs but can be challenging to maintain a consistent temperature. Pellet smokers, on the other hand, offer precise temperature control but might not give as strong a smoke flavor compared to other types.
The choice of smoker significantly influences the smoking time. Smokers with better temperature control will cook more consistently and may reduce cooking time. It’s also important to consider the fuel source, as different woods impart different flavors and burn at different rates, thereby affecting the smoking time.
Understanding the Ideal Smoking Temperature
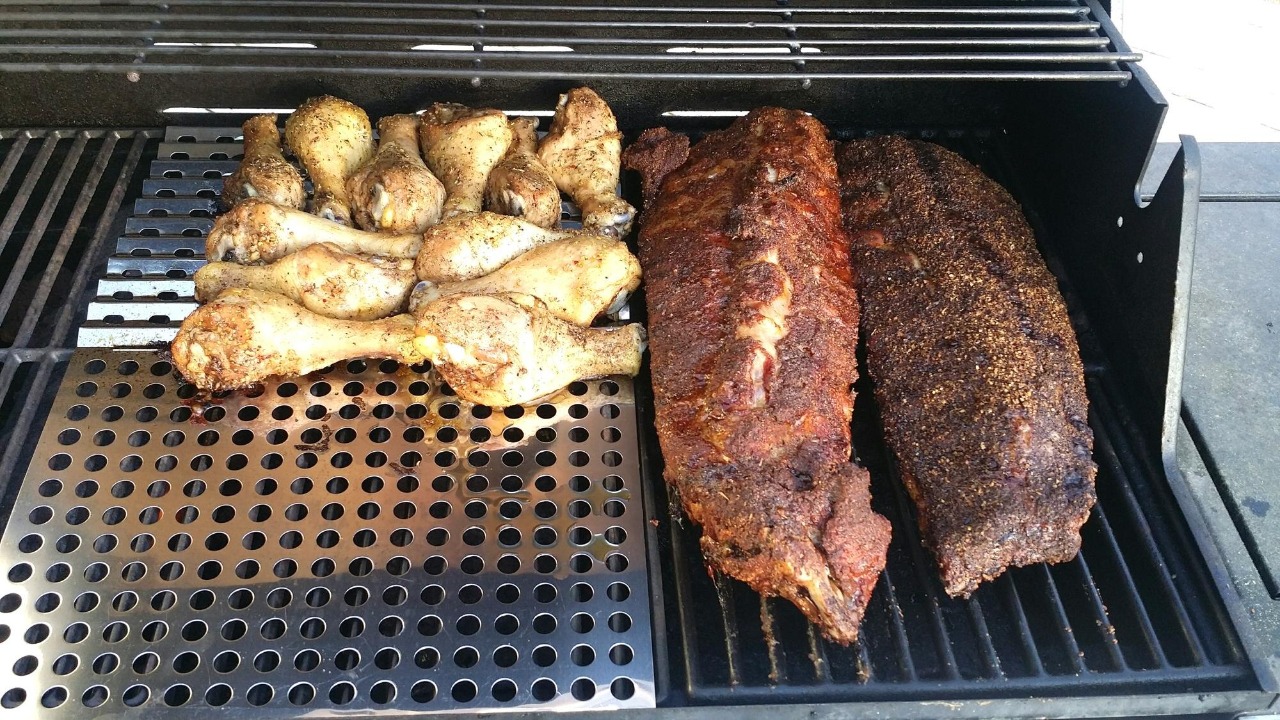
Smoking ribs is all about low and slow cooking. The ideal temperature range for smoking ribs is between 225°F and 250°F. This temperature range allows the collagen in the meat to break down slowly, resulting in tender, juicy ribs.
Maintaining a consistent temperature in your smoker is critical. Fluctuations in temperature can lead to uneven cooking and longer smoking times. Regularly checking your smoker and making minor adjustments as needed can help maintain a stable temperature. Tools like digital thermometers and temperature controllers can be invaluable for this.
The 3-2-1 Smoking Method Explained
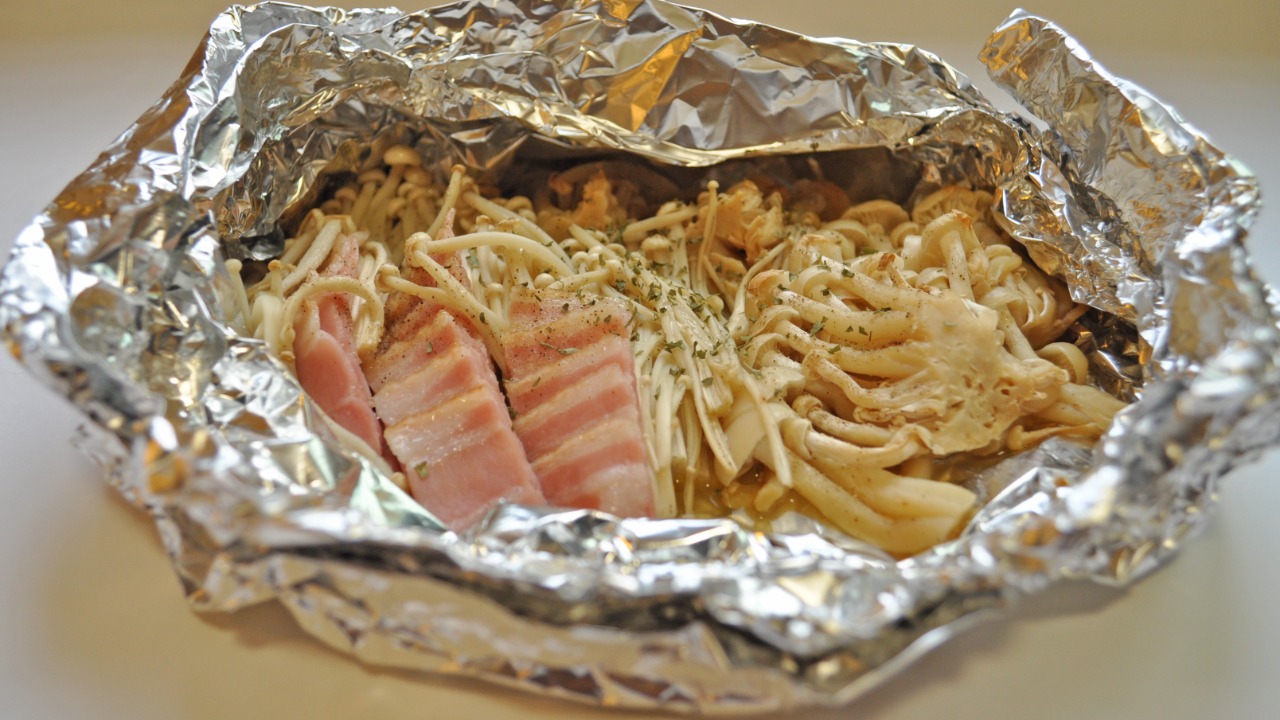
The 3-2-1 method is a popular technique for smoking ribs. The numbers represent the hours spent at each stage: 3 hours smoking the ribs directly on the grates, 2 hours cooking the ribs wrapped in foil with a bit of liquid to steam them, and 1 hour finishing the ribs back on the grates with sauce, if desired.
While the 3-2-1 method can result in tender, fall-off-the-bone ribs, it’s not without its drawbacks. For one, it can lead to overcooked ribs if not carefully monitored. Additionally, this method is more suited for larger, fattier Spare and St. Louis Style ribs. Smaller, leaner Baby Back ribs might require a modified method such as 2-2-1 to prevent overcooking.
Alternative Smoking Methods
As mentioned, the 2-2-1 method is an alternative smoking technique, particularly for Baby Back ribs. This method follows the same steps as the 3-2-1 method but reduces the initial smoking time to prevent overcooking.
Another alternative is the hot and fast smoking method. This method involves smoking ribs at a higher temperature, around 275°F to 325°F, for a shorter duration. While this method can significantly cut down the cooking time, it requires careful monitoring to prevent the ribs from drying out. It’s a good option for those short on time but still craving smoky, delicious ribs.
Checking the Doneness of Your Ribs
Knowing when your ribs are done is a skill in itself. The bend test and the toothpick test are two common methods. The bend test involves picking up the ribs with tongs; if they bend and the surface cracks slightly, they’re done. The toothpick test involves inserting a toothpick into the meat; if it goes in and out with little resistance, the ribs are ready.
While many might consider using internal temperature as an indicator, it isn’t the best method for ribs due to their thin, bony nature. A temperature probe can easily hit bone, leading to inaccurate readings. Thus, relying on visual and tactile cues is generally more reliable for checking rib doneness.
Resting and Serving Your Smoked Ribs
Once your ribs are smoked to perfection, resist the urge to immediately dig in. Letting your ribs rest for about 10 to 15 minutes allows the juices to redistribute throughout the meat, leading to more flavorful and juicy ribs.
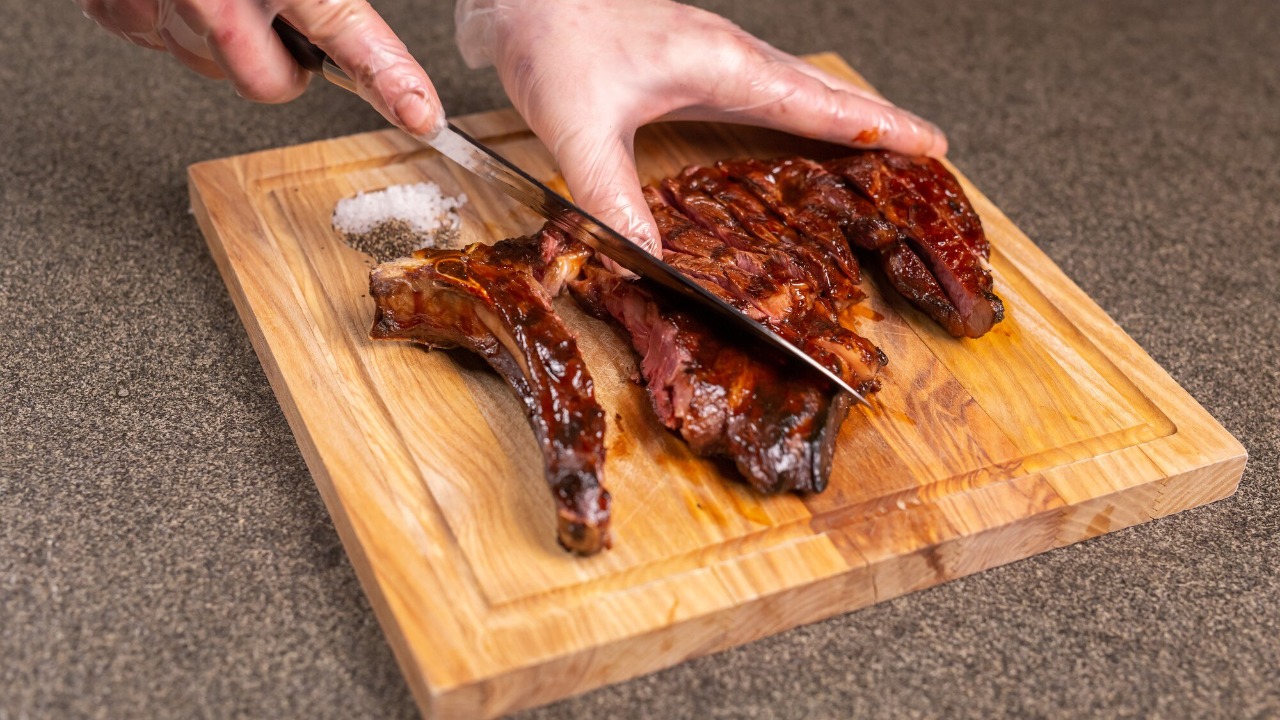
When it comes to serving, slicing the ribs between the bones gives each person their own rib or set of ribs. Leftover ribs can be stored in the refrigerator for 3 to 4 days or in the freezer for up to 3 months. Reheating in the oven or on the grill can bring back the smoky goodness for another meal.
Troubleshooting Common Problems
If you’re having issues with maintaining temperature in your smoker, consider factors such as the outdoor temperature, wind, and quality of your fuel. A windbreak can help in windy conditions, while using high-quality, dry wood can ensure a steady burn. If your smoker has vents, adjusting them can also help control the temperature.
If your ribs turn out tough or dry, they might be undercooked or overcooked, respectively. Remember, smoking ribs is a slow process, and rushing can lead to less than desirable results. If your ribs are consistently dry, consider wrapping them in foil during part of the smoking process to help retain moisture.

As a mom of three busy boys, I know how chaotic life can get — but I’ve learned that it’s possible to create a beautiful, cozy home even with kids running around. That’s why I started Cultivated Comfort — to share practical tips, simple systems, and a little encouragement for parents like me who want to make their home feel warm, inviting, and effortlessly stylish. Whether it’s managing toy chaos, streamlining everyday routines, or finding little moments of calm, I’m here to help you simplify your space and create a sense of comfort.
But home is just part of the story. I’m also passionate about seeing the world and creating beautiful meals to share with the people I love. Through Cultivated Comfort, I share my journey of balancing motherhood with building a home that feels rich and peaceful — and finding joy in exploring new places and flavors along the way.