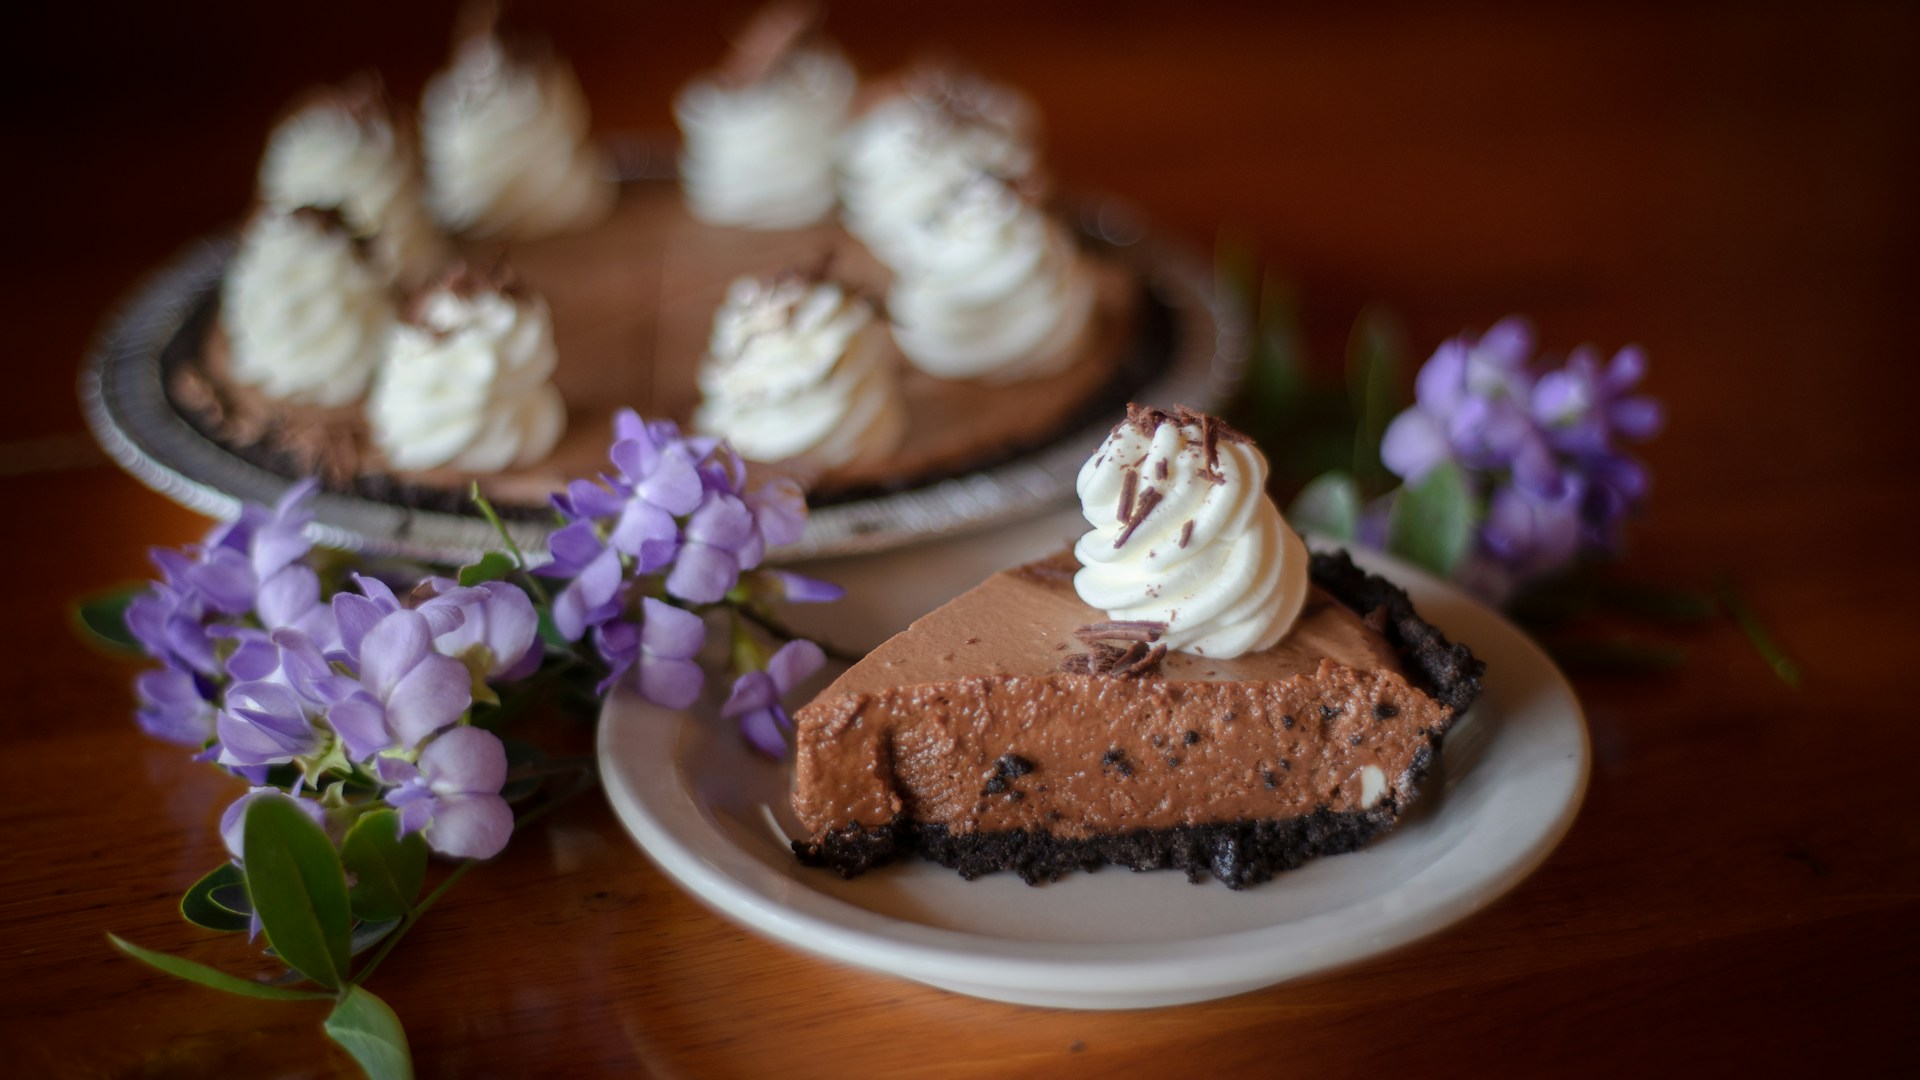
You do not need a box of pudding mix to make a proper chocolate pie. Rhonda of Rhonda’s Country Kitchen says she is making hers the old fashioned way, and she is clear about the rules: no pudding, no Jell-O, just Hershey’s cocoa and a homemade custard.
Standing beside her is Russell, who gives the cocoa a sniff and announces it is “already smelling good, honey.” Their cheerful back and forth runs through the whole pie.
Rhonda says the recipe came about because someone asked for it. A gentleman wrote that he did not want the one made with pudding, he wanted the kind with the custard you make yourself. So she pulled out a simple set of ingredients and got to work.
“We Ain’t Making It From No Pudding” Starts With Flour, Cocoa And Sugar
The crust comes first. Rhonda baked hers for 20 minutes at 350 degrees after poking a little hole in the bottom, and she says any crust you like will work. Her oven stays at 350 for later.
The dry ingredients go into a pot: 5 tablespoons of all purpose flour, 4 tablespoons of Hershey’s cocoa and three quarters of a cup of granulated sugar. She mixes them together first.
Next she separates two eggs, because the whites are headed for the meringue. She cracks each egg and passes the yolk back and forth between the shell halves, “nothing fancy.”
One Speck Of Yellow Can Ruin The Meringue, So Rhonda Shares Her Egg Tips
Her warning is blunt. If any yolk gets into the whites, forget it, because you can beat them half to death and they will not whip up. Her second tip is to use room temperature eggs, which helps make a beautiful meringue.
She also mentions that some people use a water bottle to suck the yolk right out. Squeeze the bottle, hold it near the yolk and let go. Russell has never seen that one, but she says the shell method works fine if you have nothing else on hand.
The two yolks go into the pot with one and a half cups of whole milk and a pinch of salt, about a quarter teaspoon. Rhonda prefers to whisk everything together before it goes on the heat, though she says you can do it all in the pot if you like.
The Custard Has To Bubble And Get Thick, Because It Will Not Thicken Any More In The Pie
Now the pot goes on the stove. Rhonda says the chocolate smells wonderful and cooking takes roughly 5 to 10 minutes depending on your burner. The goal is a thick custard that is bubbling.
Her warning here matters most. If you get in a hurry and the custard is still runny when it comes off the heat, it will be runny when you slice the pie. Whatever thickness it reaches in the pot is the thickness you get.
After about four minutes she checks it. She likes a whisk for this job because lumps can start to form, and the whisk works them right out. She lets it go a little longer, until it is bubbling and blowing what she calls “kisses,” a slow boop, boop, boop.
Off the heat, she stirs in a tablespoon of butter and a teaspoon of vanilla. It goes glossy and silky. She pours it into the waiting crust, which sits on an old pan to make it easier to move to the oven.
Meringue Goes On While The Pie Is Hot, Sealed Right To The Edges
For the topping, Rhonda whips the two egg whites with a little pinch of cream of tartar. She says you do not have to use it, but it helps keep the meringue sturdy. After about 30 seconds of whipping, she adds four tablespoons of sugar, one tablespoon at a time, rather than dumping it all in at once. A little pinch of salt goes in too.
Adding the sugar in increments helps the whites fluff up as much as they can. She whips until the meringue holds stiff peaks instead of the droopy soft peaks it shows early on. It takes about another minute. At the end, it will not even come off the spoon.
The meringue goes right on top of the hot custard, and she is careful to seal it all around the edges. She says she is not fancy, so she just swirls it. Russell points out that you could pipe it for a prettier look. The pie then goes into the oven at 350 degrees for about 10 minutes, just long enough for the meringue to brown.
The whole thing comes together fast. Russell thinks it took about seven minutes of work, and Rhonda laughs that maybe she is just impatient.
“The Custard Is Perfect,” And The Pie Is Good Hot, Cold Or Frozen
Tasting time brings a verdict from both of them. Russell says the custard is perfect. Rhonda says you can eat this pie hot, cold or frozen, however you like, and it is absolutely fantastic. She calls it a truly old recipe and says it seals everything in from scratch.
If you do not want meringue, she says Cool Whip or whipped cream works fine too. Still, she likes the old fashioned meringue, which is hard to beat and holds up well on the pie. She mentions that her mama used to make the best lemon meringue pies, and says she hopes to get her on camera someday.
Making It Ahead For The Holiday Table
Rhonda points out that this pie is quick, so you can make it ahead of Thanksgiving or any other occasion. That is useful advice when the oven and the stovetop are already crowded on a holiday morning.
A few habits from her kitchen are worth keeping for any custard pie. Cook the filling until it truly bubbles and thickens. Whisk steadily so lumps do not form. Pour it into the crust while it is hot, then seal the meringue to the edges so it holds in place.
It also helps to bake the crust ahead of time, as Rhonda did, so everything is ready when the custard comes off the stove. Her oven is still at the right temperature for browning the meringue afterward.
Before they sign off, Rhonda and Russell wish everyone a wonderful Thanksgiving with family, because that is what the day is about, being thankful for what you have. They also wish safe travels to anyone on the road. And for the pie, Rhonda has simple advice: “Make you some pie.”
More Stories You May Like
- Mother In Law Bans The Wives From Thanksgiving, Then One Wife Says Why It Does Not Hurt Her, If You Can’t Invite Both Of Us You’re Gonna Miss Both Of Us
- Parent Orders One Extra Extra Large Shake At In-N-Out For $5.25, Pours It Into Four Water Cups So Every Kid Gets Their Own, And Says Four Shakes Alone Would Run About $12
- UK Visitor Gets Asked For A Tip At Starbucks And Says In Britain Good Service Gets You A Smile, But In America It Gets You A Mortgage